Introduction
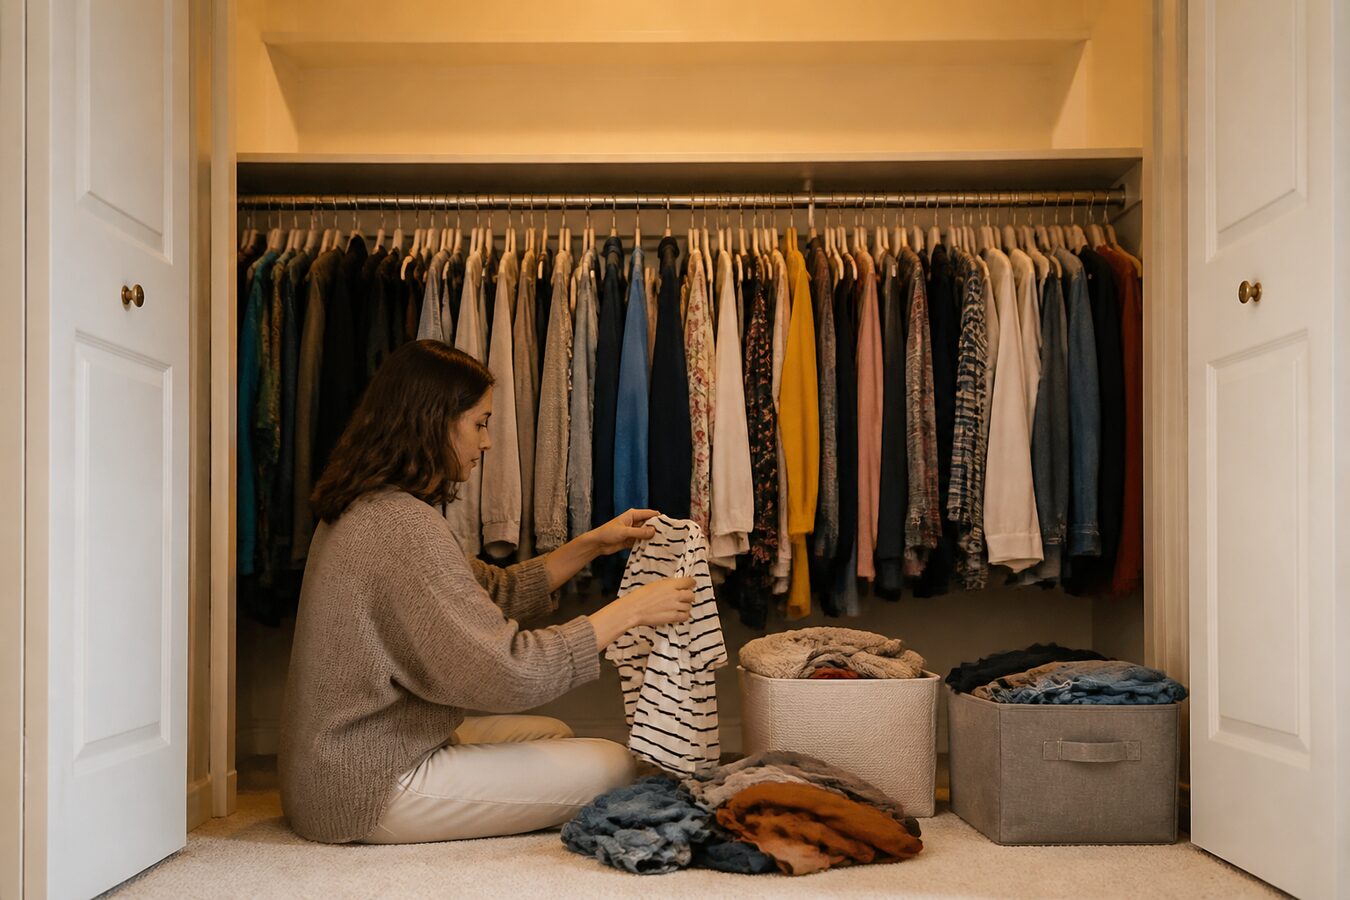
Editing one shelf thoroughly beats promising yourself a full closet overhaul that never happens. Pick the single most cluttered or least functional shelf, empty it completely, and only put back what earns its spot.
The one-shelf limit is what makes this achievable in under two hours instead of becoming an all-day project you abandon halfway through.
At a glance
- Who it’s for
- For anyone who wants a shelf where useful things are easy to reach.
- Expected cost
- $0-$20 for bins if genuinely needed after sorting
- Time needed
- 45 to 75 minutes
Supplies & preparation
- laundry basket
- donation bag
- recycling bag
- microfiber cloth
- vacuum attachment
- measuring tape
- small bins
- label tape
- marker
- phone camera
- folding board or magazine
- seasonal storage bag
Step-by-step
-
Empty the shelf completely onto the bed or floor
Remove everything at once so you can see the full volume of what's there — this is usually the moment people realize how much has accumulated without noticing.
-
Wipe down the empty shelf
Dust and wipe the shelf itself while it's empty — this is the only point in the process where it's fully accessible.
-
Sort into keep, donate, and unsure piles
Handle each item once: keep if you've used it in the past year and it still fits or works, donate if it's in good condition but unused, and set aside an 'unsure' pile capped at a handful of items.
-
Apply a one-year rule to the unsure pile
For anything you're genuinely unsure about, ask if you've used or worn it in the past year. If not, it goes to donate — this single rule resolves most indecision faster than deliberating item by item.
-
Group what's left by category before returning it
Fold or group similar items together (all scarves, all belts, all specific gear) so the shelf reads clearly at a glance rather than as a mixed pile.
-
Use bins only for genuinely loose items
Small, loose items (accessories, chargers, seasonal gear) benefit from a labeled bin; larger folded items usually don't need one and just take up extra space.
-
Bag donations and schedule the drop-off immediately
Bag the donate pile and put it by the door or in the car the same day — a donation bag left in the closet has a way of quietly getting unpacked again within a week.
Common mistakes
- Sorting item by item while everything's still on the shelf, which makes it much harder to see the true volume.
- Letting the 'unsure' pile grow without a cap, which becomes its own second clutter problem.
- Buying bins before sorting, which often leads to bins that don't match what actually needed containing.
- Leaving the donation bag in the closet instead of moving it out immediately, letting items drift back.
- Trying to do the whole closet in one session instead of committing to just the one shelf.
Variations for different budgets
Budget
Use bags or boxes you already have for donations, and skip new bins — fold and group is often enough for one shelf.
Mid-range
Buy a small set of matching labeled bins sized to the shelf's actual depth.
Splurge
Add shelf risers or a custom insert if the one-shelf edit reveals the shelf's height or depth is the real problem.
Practical considerations
Use a stable step stool for high shelves rather than standing on furniture, and wear a mask if the shelf hasn't been disturbed in a long time and has accumulated dust.
Printable checklist
Closet One-Shelf Edit