Introduction
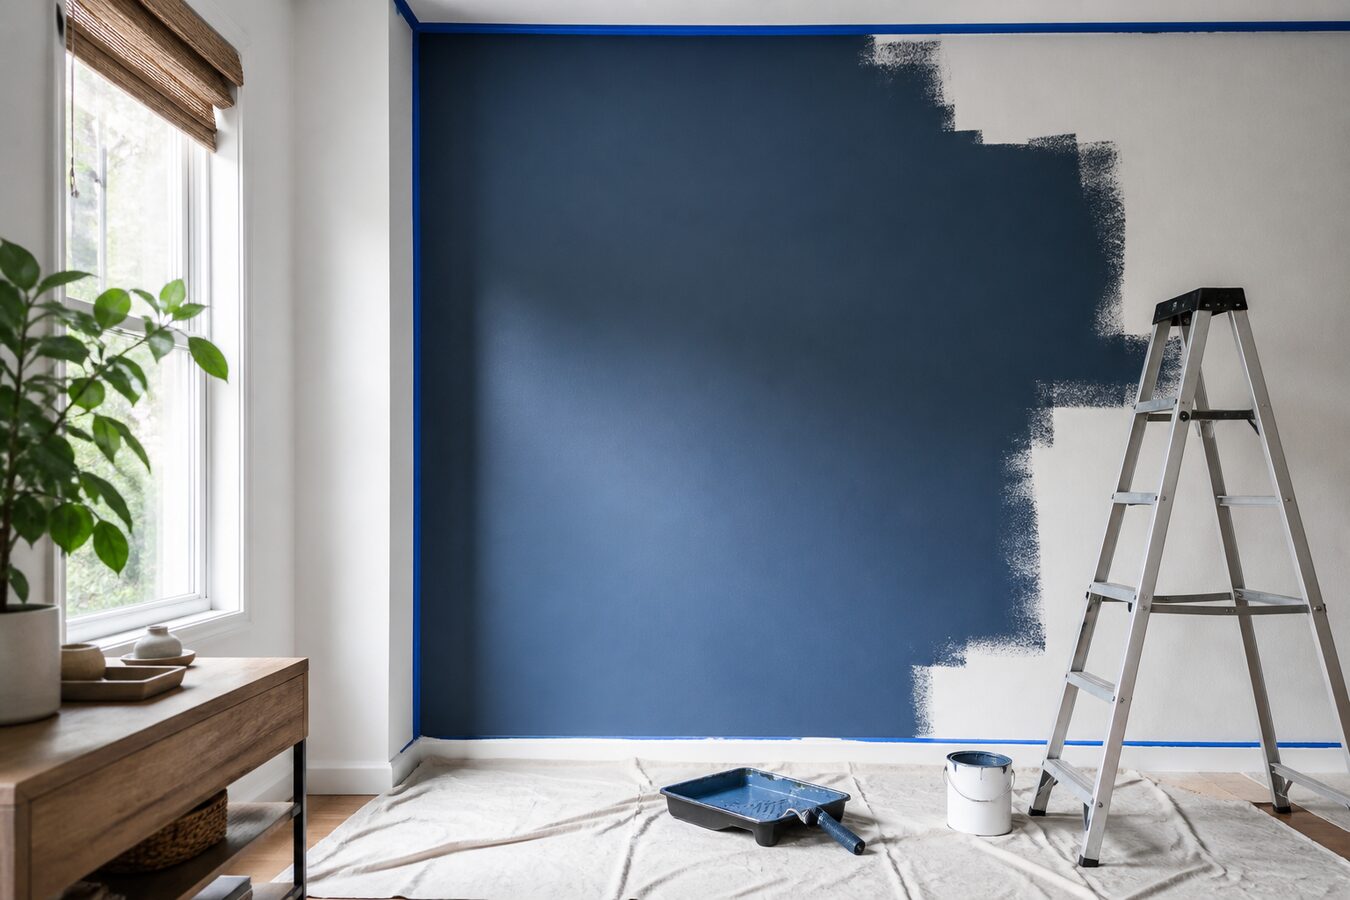
Painting or rehanging a single wall is a realistic weekend project precisely because it has a visible finish line. Pick the wall you look at most — behind the sofa, the stairwell, the one across from your desk — and commit to finishing it, not starting a whole-room plan.
Prep work decides the result more than the paint or hardware does: patch and sand first, tape carefully, and let primer dry fully before the finish coat.
At a glance
- Who it’s for
- For anyone who wants a finished focal point.
- Expected cost
- $40-$150; paint, primer, and hanging hardware drive cost
- Time needed
- Friday evening through Sunday dinner
Supplies & preparation
- drop cloth
- painter’s tape
- spackle
- putty knife
- 120-grit sanding block
- primer
- paint or hanging hardware
- roller and tray
- angled brush
- level
- measuring tape
- clean rags
Step-by-step
-
Patch and sand first
Fill any holes or dents with spackle, let it dry completely (usually 30–60 minutes), then sand smooth with a 120-grit block. Skipping this step is a common reason a fresh paint job still looks uneven.
-
Tape and protect the edges
Run painter's tape along trim, ceiling lines, and adjacent walls, pressing it down firmly so paint can't bleed underneath. Lay a drop cloth for the floor before opening any paint or primer.
-
Prime bare patches, not the whole wall
Spot-prime any patched or bare areas so they don't show through the finish color — a full coat of primer is only necessary if you're covering a dark color with a light one.
-
Cut in edges before rolling
Use an angled brush to paint a 2–3 inch border around trim and ceiling before rolling the open field. This prevents roller marks near edges and gives you cleaner lines than trying to roll all the way to the corner.
-
Roll in a W pattern, then fill in
Load the roller evenly, apply paint in a loose W shape, then fill in without lifting the roller until the section is covered. Two thin coats look better and last longer than one thick one.
-
Let the first coat dry fully before the second
Most paints need 2–4 hours before a second coat; check the can for the exact time. Recoating too early can pull up the first layer or leave visible lap marks.
-
Pull tape at a 45-degree angle while paint is still slightly tacky
Removing tape too late can peel dried paint with it; too early risks bleeding. Pulling it at an angle, away from the fresh paint line, gives the cleanest edge.
Common mistakes
- Skipping the sanding step after patching, which leaves visible bumps under the new paint.
- Painting over unprimed patches, which often show through as slightly different sheen or color.
- Rolling the whole wall before cutting in the edges, leading to visible roller texture near corners.
- Recoating before the first layer is fully dry, which can lift paint or create lap marks.
- Buying paint before confirming the exact color in the room's actual light — colors read differently under different bulbs.
Variations for different budgets
Budget
Use leftover or mis-tinted paint from a hardware store's discount rack, and skip new hardware in favor of what you already own.
Mid-range
Buy one quality gallon of paint in a color you're confident about, and add simple floating shelves or a small gallery of frames you already own.
Splurge
Hire a painter for a textured or specialty finish, or invest in a statement piece — a large mirror, a built-in shelf, or professionally framed art — as the wall's focal point.
Practical considerations
Ventilate the room while painting, wear eye protection when sanding, and keep a stud finder handy before drilling into drywall. Stop and consult an electrician if you find unexpected wiring behind the wall.
Printable checklist
One-Wall Weekend Refresh