Introduction
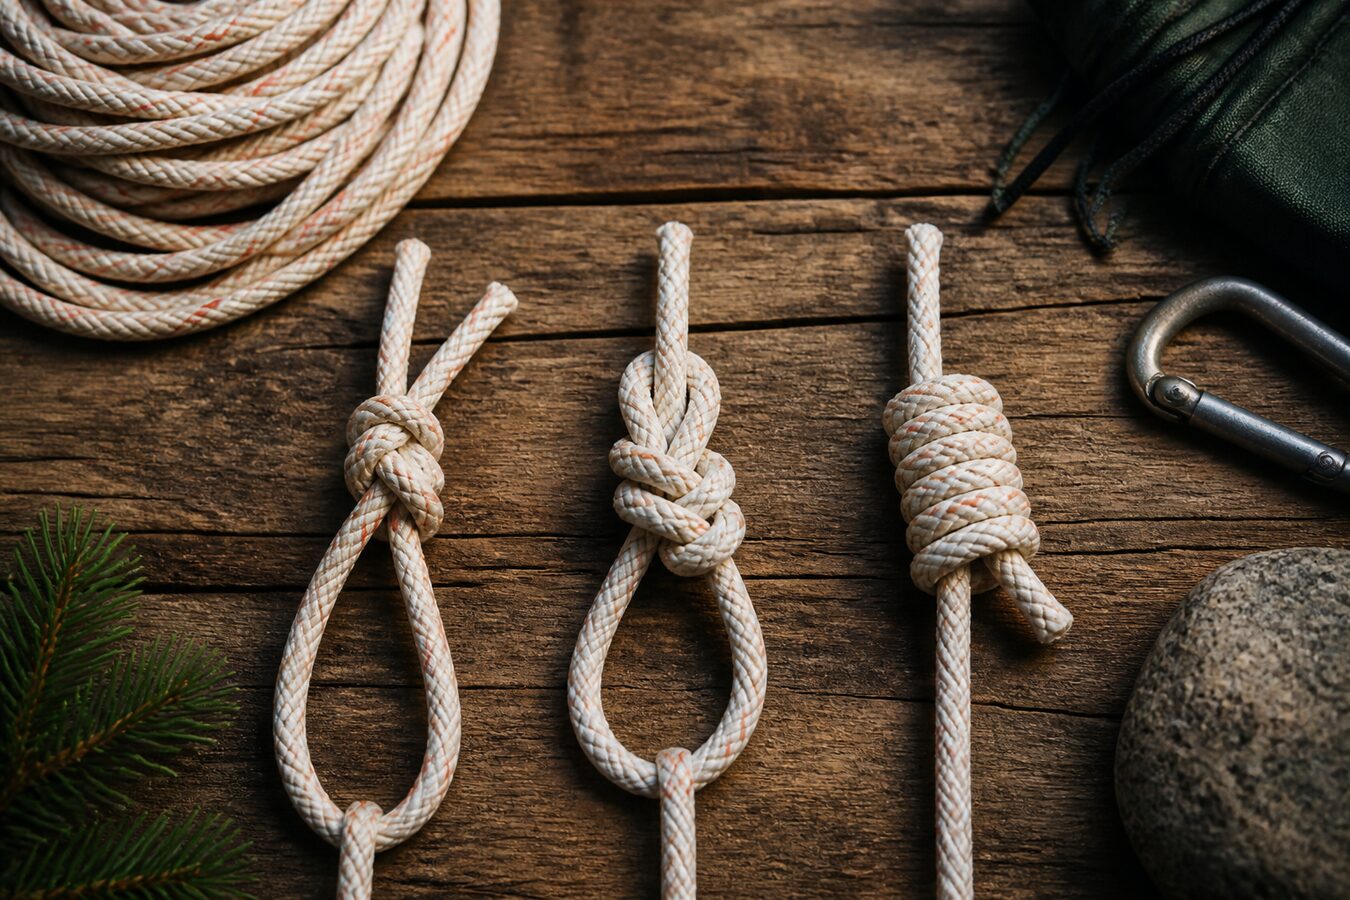
Three genuinely useful knots — a bowline, a clove hitch, and a taut-line hitch — cover most everyday needs: a secure loop, a quick hitch to a post, and an adjustable tension line. One evening of focused practice is enough to tie all three from memory.
The key is repetition without looking at the diagram, not just watching a video once and assuming it'll stick.
At a glance
- Who it’s for
- For anyone who wants three reliable knots you can tie without a tutorial.
- Expected cost
- $5-$20 for practice rope if you don't already own any
- Time needed
- one evening and a short review later
Supplies & preparation
- 6 to 10 feet of rope
- paracord
- thicker practice rope
- carabiner
- smooth ring or post
- painter’s tape
- scissors
- lighter for synthetic ends
- notebook
- pen
- printed diagrams
- work gloves
Step-by-step
-
Watch one demonstration of each knot fully, start to finish
Choose a single clear video or diagram source for each of the three knots and watch it through completely before attempting to tie anything — jumping between multiple sources at the start tends to cause more confusion than help.
-
Tie each knot slowly, following the diagram step by step
Go through each knot at a deliberately slow pace with the reference material visible, pausing at each step rather than rushing to a finished loop.
-
Untie and retie each knot five times in a row
Repetition, not understanding, is what builds the muscle memory to tie a knot without thinking. Five consecutive successful reps per knot is a reasonable target for one evening.
-
Try tying each knot without looking at the reference
After a few successful guided reps, attempt each knot from memory. If you get stuck, that's useful information about which part isn't yet automatic — go back to the reference for just that step.
-
Test each knot under actual tension
A knot that holds loosely tied on a table can fail under real load. Test the bowline by hanging weight on the loop, the clove hitch by pulling against the post, and the taut-line by adjusting tension on an actual line.
-
Practice tying one knot with your non-dominant hand leading
This sounds unnecessary but reveals whether you actually understand the knot's structure or have just memorized a hand motion — if you can adapt to a different lead hand, you understand it.
-
Teach the knots to someone else, or narrate them out loud
Explaining each step out loud, even to no one, forces you to articulate what you're doing rather than relying on unconscious hand memory that fades quickly without repetition.
Common mistakes
- Watching multiple different tutorials for the same knot at once, which introduces confusing variations in terminology and technique.
- Moving to the next knot before five consistent successful reps of the current one.
- Never testing the knot under real tension, only tying it loosely on a table.
- Assuming a knot is learned after one successful tie instead of building actual repetition.
- Skipping practice for weeks after the initial session, when knot memory fades faster than most physical skills without reinforcement.
Variations for different budgets
Budget
Use any rope or paracord you already have at home and free online video references.
Mid-range
Buy a dedicated practice rope in a size similar to what you'd actually use (climbing cord, boating line) and a laminated reference card.
Splurge
Take an in-person knot-tying class or workshop, often available through outdoor gear shops or sailing clubs, for hands-on correction.
Practical considerations
Keep fingers clear when tightening a knot under load, and test any knot meant for real weight-bearing use (climbing, rigging) with proper equipment and guidance before trusting it with safety-critical use.
The three knots and what each is actually for
The bowline forms a fixed loop at the end of a rope that holds firm under load but can still be untied by hand afterward — useful anywhere you need a secure loop that isn't permanent, from securing a tarp corner to a rescue-adjacent use most people will never need but is worth knowing.
The clove hitch attaches a rope to a post, rail, or pole quickly and adjustably — it's not fully load-secure on its own for critical weight, which is exactly why testing it under real tension (as in the steps above) matters before trusting it.
The taut-line hitch creates an adjustable loop that grips under tension but can be slid to tighten or loosen — the standard choice for tent guy-lines and securing a tarp where you'll want to re-tension later without retying the whole knot.
Printable checklist
Learn Three Useful Knots